
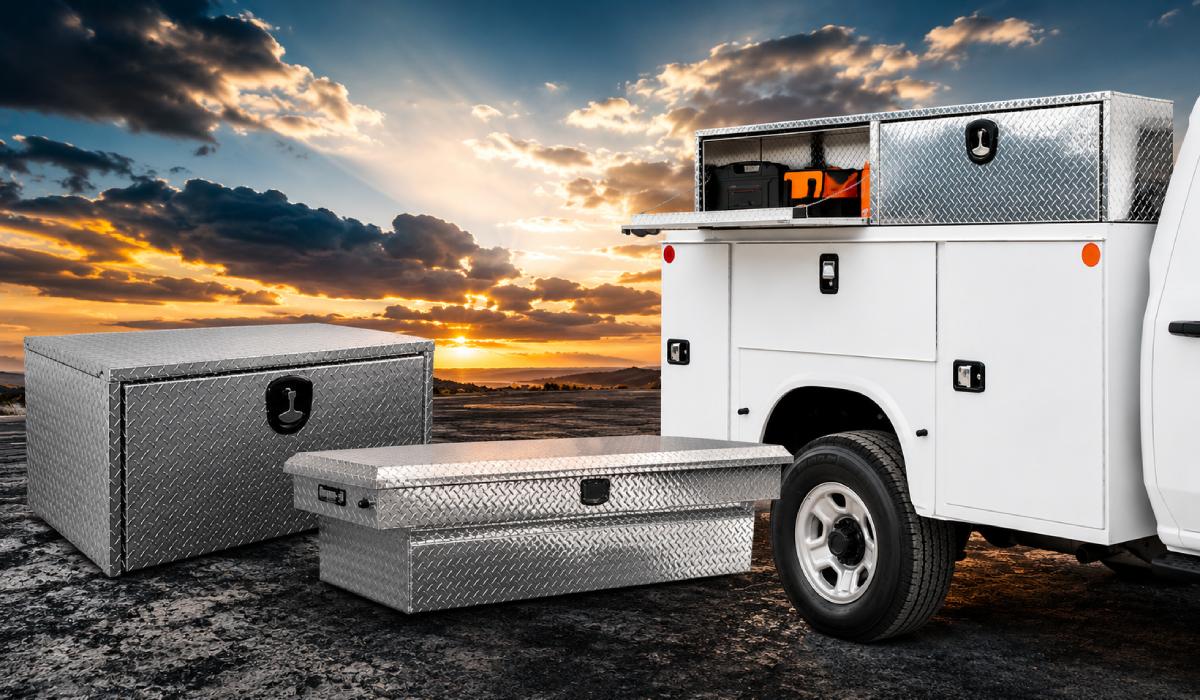
Transforming a standard pickup into a highly functional hauling machine is a rewarding project for any truck owner. Whether you are a professional contractor carrying lumber and conduit, an overlander prepping for a weekend off-grid, or simply a DIY enthusiast bringing home drywall, mastering proper cargo management is essential.
Adding overhead storage and cab protection completely changes how you use your vehicle. However, before you load up that heavy gear, you need a solid foundation. Understanding how to install truck racks properly ensures that your cargo stays secure while driving at highway speeds or navigating rough terrain.
In this comprehensive guide, we will walk you through everything from selecting the right materials to the final tightening of the hardware. We'll cover the vital steps for achieving maximum truck bed protection, integrating your new setup with existing truck accessories, and ensuring that all truck safety features remain uncompromised.
Understanding Your Rack Options
Before you start turning wrenches, you need to know exactly what kind of rack fits your specific needs. The world of truck customization offers a wide array of truck ladder rack solutions.
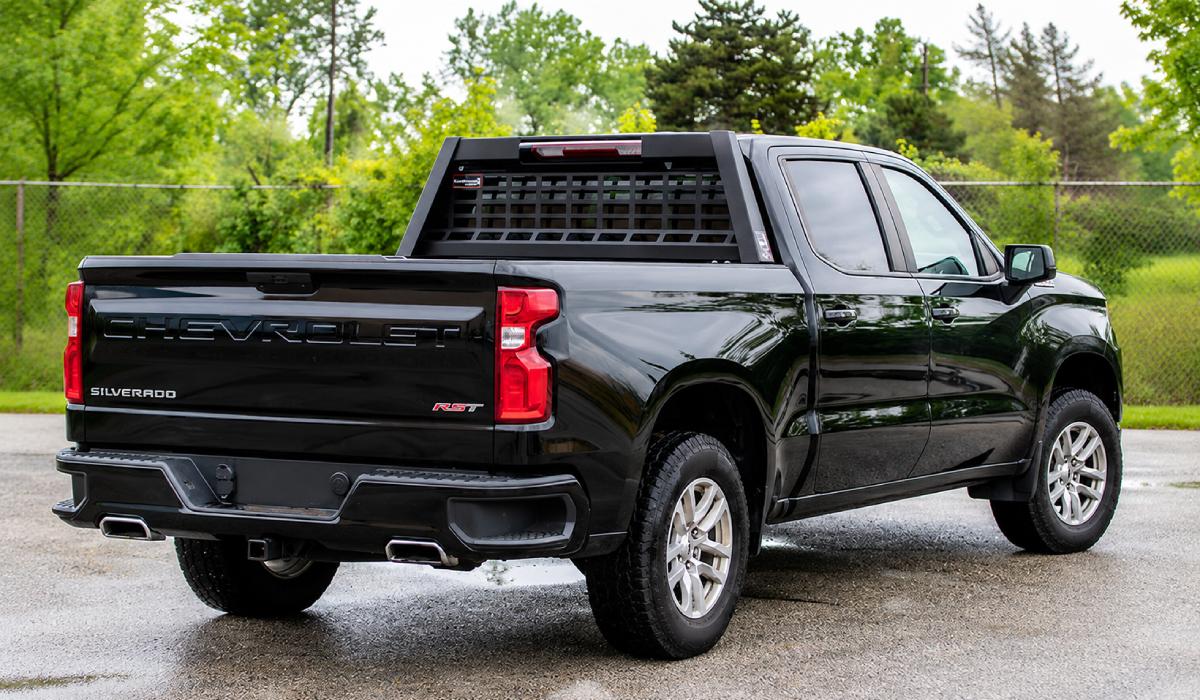
- Truck Headache Racks: Truck headache racks are mounted directly behind the cab, truck headache racks are designed to protect your rear window—and the passengers inside—from shifting cargo. They also offer a great tie-down point for long items resting on the tailgate.
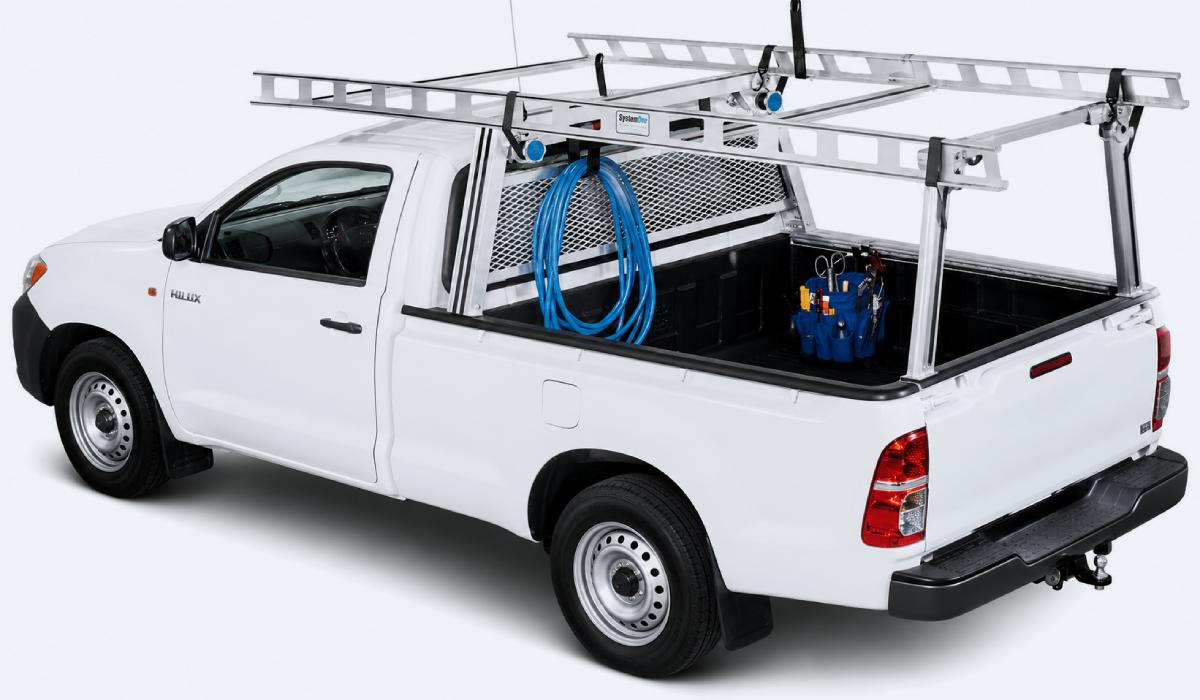
- Utility Truck Racks: These utility truck racks are generally full-length racks spanning from the cab to the tailgate, ideal for hauling ladders, pipes, and oversized materials.
- Overland Racks: Lower-profile racks designed specifically to hold rooftop tents, traction boards, and camping gear.
When choosing your rack, you will inevitably face the debate over aluminum vs steel rack weight capacity.
- Steel Racks: These are incredibly rugged and offer massive weight capacities, making them ideal for heavy-duty commercial use. However, they are heavy and prone to rust if the powder coating is scratched.
- Aluminum Racks: These are lightweight, naturally rust-resistant, and visually sleek. While they might have a slightly lower maximum load than steel, they are more than sufficient for most recreational and standard contracting needs.
It is also crucial to understand your dynamic versus static payload limits. A rack might have a static weight limit of 800 pounds (meaning it can hold 800 pounds while safely parked). However, the dynamic weight limit (how much it can safely carry while bouncing down a pothole-ridden highway) may only be 400 pounds. Always plan your loads based on the dynamic limit.
Pre-Installation Preparation
Preparation is the secret to a smooth installation process. Taking the time to measure and evaluate your truck bed will save you hours of frustration later.
Sizing Up Your Truck Bed
- Start by measuring truck bed dimensions for fitment. Using a tape measure, determine the inside width (from the inside of one bed rail to the other), the outside width, and the total length of the bed. Many racks are adjustable, but having your exact dimensions ensures you buy the correct base model.
Compatibility with Other Accessories
- If you currently use a bed cover, truck box, or other pickup truck accessories, you must verify that your pickup rack is compatible with the existing setup. Some racks feature a wide base plate that covers the entire bed rail, making it impossible to close a standard tonneau cover. If keeping your cover is non-negotiable, look for racks that mount inside the bed wall, utilize T-slot rails, or mount directly into the existing stake pockets without overlapping the inside lip.
The Great Debate: Installation Methods
One of the most frequently asked questions by truck owners is: do truck racks need drilling? The answer entirely depends on the mounting style you choose. Let's look at clamp-on vs bolt-on truck racks.
Clamp-On Racks
- These utilize heavy-duty aluminum or steel J-clamps that hook under the lip of your truck's bed rails. They require zero drilling, are easy to remove if you sell the truck, and are perfect for light-to-medium loads.
Bolt-On Racks
- If you are hauling maximum payloads, bolt-on is the way to go. This method requires drilling through the bed rails and securing the rack with heavy-duty bolts and lock nuts. It offers unparalleled strength but makes the installation highly permanent.
Step-by-Step Installation Guide
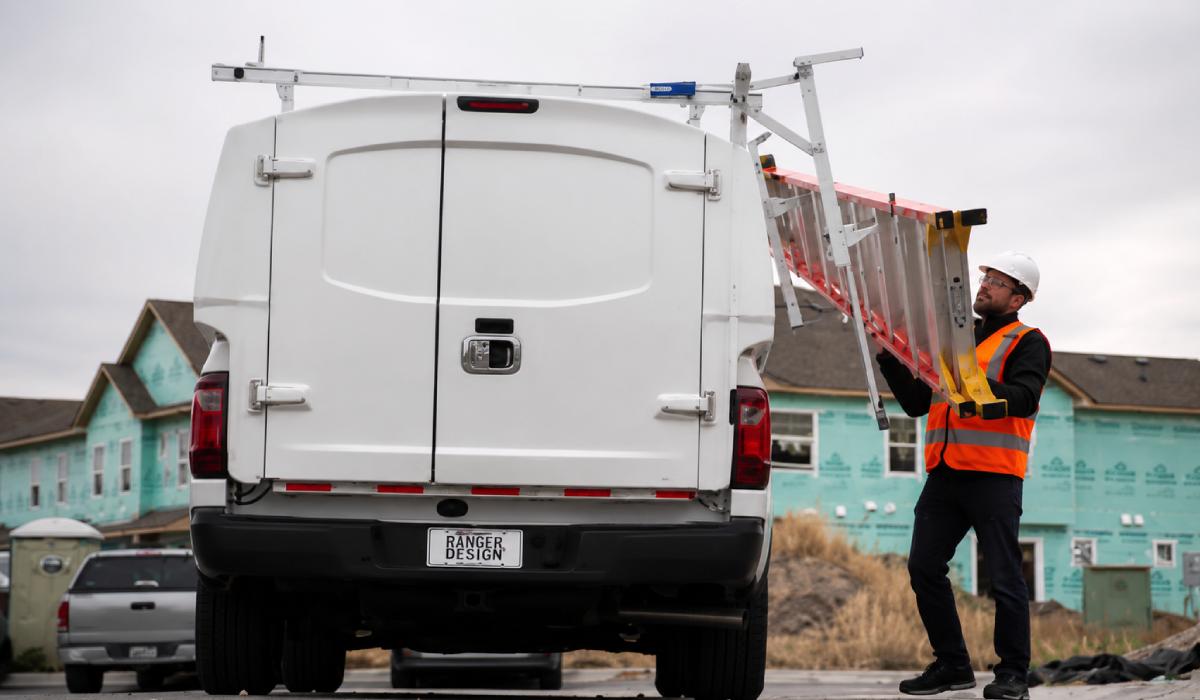
Whether you bought a universal kit online or you are following specific heavy duty ladder rack assembly instructions for a premium truck ladder rack, the fundamental installation steps remain consistent.
- Do not tighten everything down right away. Lay out all your crossbars, legs, and brackets on a soft blanket on the ground. Assemble the main structure loosely. Adjusting crossbar width for universal fit is significantly easier when the bolts have some give. Once the rack is on the truck, you can slide the uprights to match your truck's exact width.
- A major priority during this process should be preventing bed rail damage during installation. Bare metal resting on bare paint will inevitably cause deep scratches and invite rust. Always utilize the provided weatherproof rack mounting gaskets. If your kit didn't include them, purchase high-quality rubber stripping to act as a barrier. This gasket not only protects your paint but also prevents water from seeping into drilled holes.
- Lift the loosely assembled rack onto your truck bed rails (you will likely need a friend for this step). Position the rack according to your preference and the manufacturer’s guidelines.
- If your truck has pre-cut holes along the bed rails and you want to avoid drilling, learning how to attach rack to truck bed stake pockets is a game changer. Stake pocket mounting kits usually feature rubber expansion blocks or toggle bolts. You drop the block into the pocket, and as you tighten the top bolt, the mechanism expands inside the pocket, creating a vice-like grip against the inner steel of the bed rail.
- Once the rack is perfectly aligned, it’s time to lock it down. Start securing bed rails for overhead loads by installing your J-clamps or tightening your bolt-on hardware.
- This is the most critical safety step: tightening bolts to torque specifications. Grab a torque wrench and consult your installation manual. Over-tightening can strip the bolts or crush your bed rails, while under-tightening will result in the rack vibrating loose on the highway. Always tighten in a star pattern if the base plate has multiple bolts, ensuring an even, flush fit.
Fine-Tuning and Adding Accessories
With the rack firmly attached to the truck, you can now fully tighten all the upper assembly bolts connecting the legs to the crossbars.
Configuring the Rear Bar
Many premium utility racks feature a modular rear section. If you frequently load tall cargo directly into the bed (like a refrigerator or dirt bikes), refer to your removable rear bar mounting guide. These rear crossbars usually rely on quick-release pins rather than standard bolts. Ensure these pins are fully seated and locked with cotter pins so the bar doesn't accidentally dislodge while driving.
Managing Aerodynamics
Adding a large metal structure to your roofline drastically alters your vehicle's aerodynamics. Troubleshooting wind noise after installation is a common final step for many truck owners.
If you experience a loud, high-pitched whistle at highway speeds, it is usually caused by wind whipping across the empty channels of the crossbars. Here are a few quick fixes:
- Install a Wind Deflector: Many manufacturers sell angled fairings that attach to the front crossbar to push wind up and over the rack.
- Use Rubber Channel Fills: If your aluminum crossbars have exposed T-slots, fill them with rubber stripping.
- The Bungee Cord Trick: Wrapping a standard bungee cord in a spiral pattern tightly around the front crossbar breaks up the airflow and almost instantly stops the whistling sound.
Conclusion
Upgrading your vehicle with a robust overhead system is one of the most practical investments you can make. By understanding how to properly size, assemble, and secure your equipment, you drastically increase your truck's hauling versatility.
Remember to take your time during the preparation phase, use the right weatherproof gaskets to protect your paint, and strictly adhere to the manufacturer's torque specs. With your new rack successfully installed, you can hit the road with the confidence that your cargo is safe, your truck is protected, and you are ready for whatever the job or the wilderness throws your way.